Is your vacuum failing to turn on from the handle? Learn how to diagnose and repair the power switch on your Shark Rotator without buying a whole new handle.
On premium Shark models like the Rotator Powered Lift-Away (NV752) or the Professional (NV501), the power and floor controls are located on the handle. This is convenient for your thumb, but it creates a vulnerability: the signal must travel through wires in the hose to reach the motor.
Is your vacuum failing to turn on from the handle? Learn how to diagnose and repair the power switch on your Shark Rotator without buying a whole new handle.
- Symptoms: Vacuum won’t turn on when pressing the handle button, Mode switch (Carpet/Floor) feels loose or ‘mushy’, Vacuum turns off intermittently when you move the handle
- Tools: Torx T15 Screwdriver, Small Phillips Screwdriver, Contact Cleaner, Multimeter (Optional)
- Difficulty: Hard
If your vacuum won’t turn on, the problem is usually one of two things: a dirty electronic switch or a broken wire in the hose.
1. The “Wiggle” Test
Before taking anything apart, we need to know where the break is.
- Plug the vacuum in.
- Hold the power button down on the handle.
- While holding the button, use your other hand to wiggle the hose where it enters the motor pod and where it enters the handle.
- If the vacuum “flickers” to life for a split second, the problem is a frayed wire inside the hose. Repairing these internal wires is dangerous; you should Replace the Hose instead.
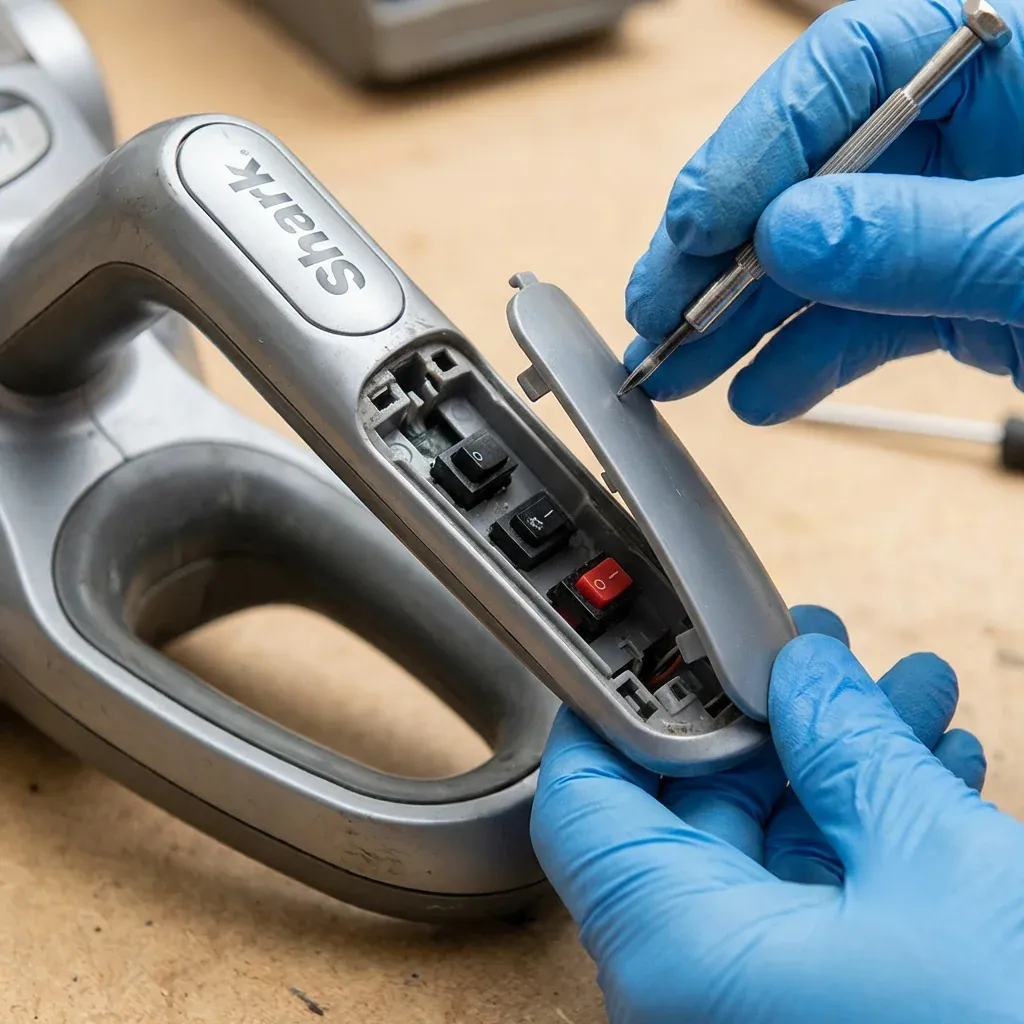
2. Cleaning the Handle Contacts
If the wiggle test does nothing, the physical switch inside the plastic handle might be coated in dust or carbon.
- Unplug the vacuum. (Never work on the switch while powered).
- Remove the 4 or 5 screws from the underside of the handle (you will likely need a T15 Torx driver).
- Carefully split the plastic handle casing. Watch out for the small spring that holds the “Suction Release” slider.
- Locate the small electronic “tactile” switch.
- Spray a small amount of Electrical Contact Cleaner into the switch. Click the button 20 times to work the cleaner in.
- Reassemble and test.
3. When the Switch is Physically Broken
If the button feels “mushy” and doesn’t click at all, the plastic stem inside the handle has snapped.
- The DIY Fix: You can often “rebuild” the stem using a tiny drop of plastic-welding glue (cyanoacrylate with an activator).
- The Professional Fix: If the internal circuit board is cracked, you must replace the entire handle and hose assembly. These are sold as one unit because the wires are integrated.
Diagnostic Chart
| Feeling | Likely Problem | Solution |
|---|---|---|
| No click at all | Broken plastic stem | Glue the stem or replace handle |
| Clicks but no power | Dirty contacts | Use Contact Cleaner spray |
| Intermittent power | Frayed hose wire | Replace the Hose/Handle unit |
| Turns on, but mode wont change | Ribbon cable loose | Re-seat the internal cable |
CAUTION: The handle on “Powered Lift-Away” models contains a small circuit board. Do not use water or WD-40 to clean it. Only use specialized “Fast-Drying Contact Cleaner” to avoid short-circuiting the electronics.