Is your vacuum cord frayed or cut? Don't throw the vacuum away. Learn how to safely replace a Shark Navigator power cord and save over $100 in repair costs.
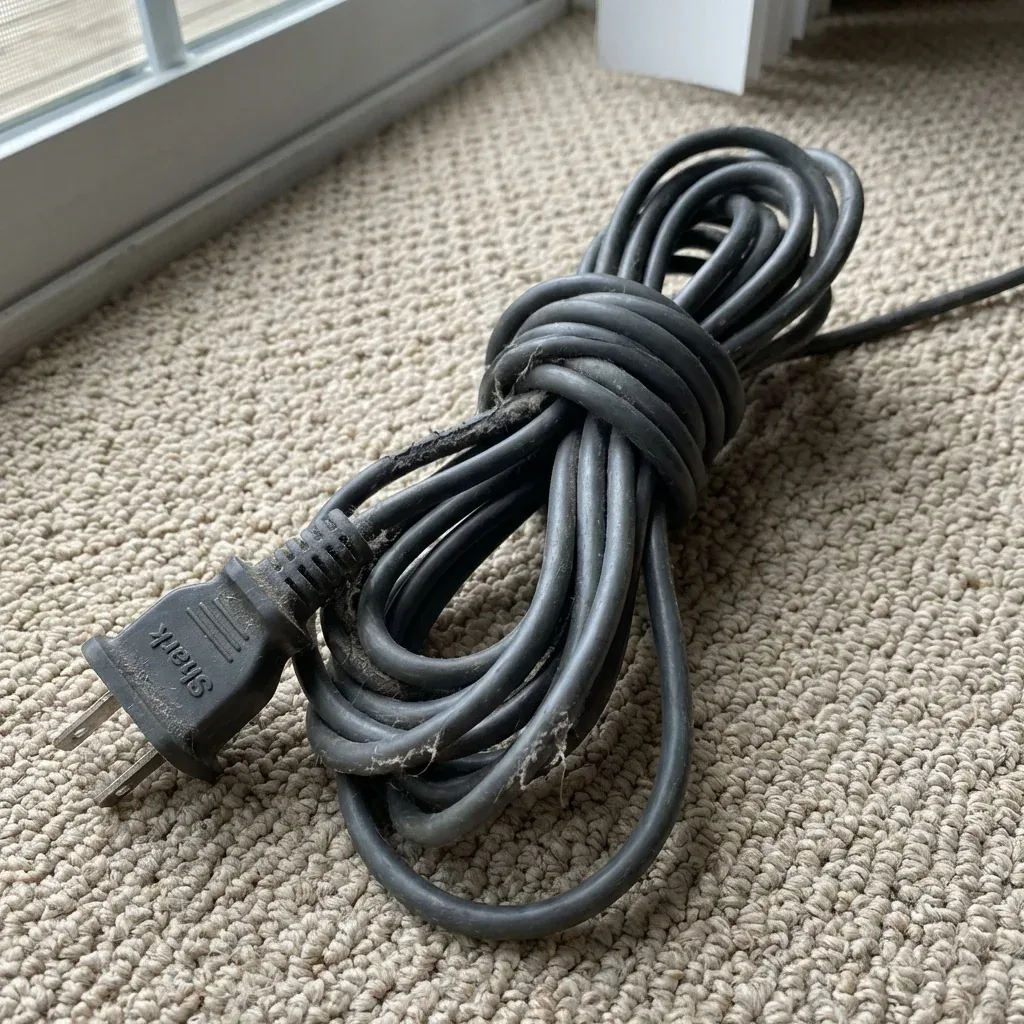
A frayed or cut power cord is a serious fire hazard and should never be ignored. Whether your vacuum cord was stepped on, caught in the brush roll, or chewed by a pet, the good news is that you can replace it yourself with basic tools.
Is your vacuum cord frayed or cut? Don’t throw the vacuum away. Learn how to safely replace a Shark Navigator power cord and save over $100 in repair costs.
- Symptoms: Vacuum won’t turn on, Power cuts in and out when moving the cord, Exposed wires or fraying near the base
- Tools: Phillips Head Screwdriver, Wire Strippers, Wire Nuts or Solder, Replacement 2-Prong Power Cord (30ft)
- Difficulty: Hard
This guide covers how to open the motor pod and install a fresh cord to get your Shark Navigator back in action.
Safety First
WARNING: You must unplug the vacuum before starting this repair. Working on an open vacuum that is plugged in can result in a fatal electric shock.
Step 1: Open the Motor Pod
To reach the cord connection points, you need to access the internal wiring.
- Remove the dust cup and filters.
- Lay the motor pod on its back.
- Remove the Phillips head screws on the outer casing. Note that some Navigator models have hidden screws under the filters or rubber pads.
- Gently pry the two halves of the pod apart.
Step 2: Locate the Cord Connections
Once the pod is open, you will see where the thick black power cord enters the machine. The two wires (usually black and white or blue and brown) will be connected to the main switch or a small circuit board.
- Take a Photo: Before touching anything, take a high-quality photo of the wiring so you know exactly where the new wires go.
3. Remove the Damaged Cord
- Disconnect the two power wires from their terminals. They are usually held by wire nuts or “spade” connectors.
- Pull the “strain relief” (the thick rubber piece where the cord enters the plastic) out of its slot.
- Slide the old cord out of the vacuum.
4. Prep the New Cord
You can buy a “Universal 2-Prong Vacuum Cord” online or at a local hardware store.
- Strip about 1/2 inch of insulation off the ends of the two wires on your new cord.
- Slide the new cord through the strain relief hole in the vacuum casing.
5. Connecting the Wires
Connect your new cord to the vacuum’s internal wires.
- If using wire nuts: Twist the matching colors together and screw the nut on tightly.
- If soldering: Solder the joints and cover them with heat-shrink tubing. Never use electrical tape alone for primary power connections inside a vacuum.
6. Test and Reassemble
- Tuck the wires neatly so they won’t be pinched when you close the case.
- Snap the casing back together and replace all screws.
- Plug the vacuum in and test the power switch.
When to Use a “Cord Patch” Instead
If the damage is far away from the vacuum head (e.g., in the middle of the cord), you can use a heavy-duty replacement plug from a hardware store. Simply cut the cord at the damage point and install the new plug. This is much easier than opening the vacuum but makes the cord shorter.
| Spare Part | Purpose |
|---|---|
| Damage near the base | Full Cord Replacement |
| Damage near the plug | Install Replacement Plug |
| Exposed wires/Copper visible | DO NOT USE - Repair immediately |
| Tape over a cut | Dangerous - Temporary only |