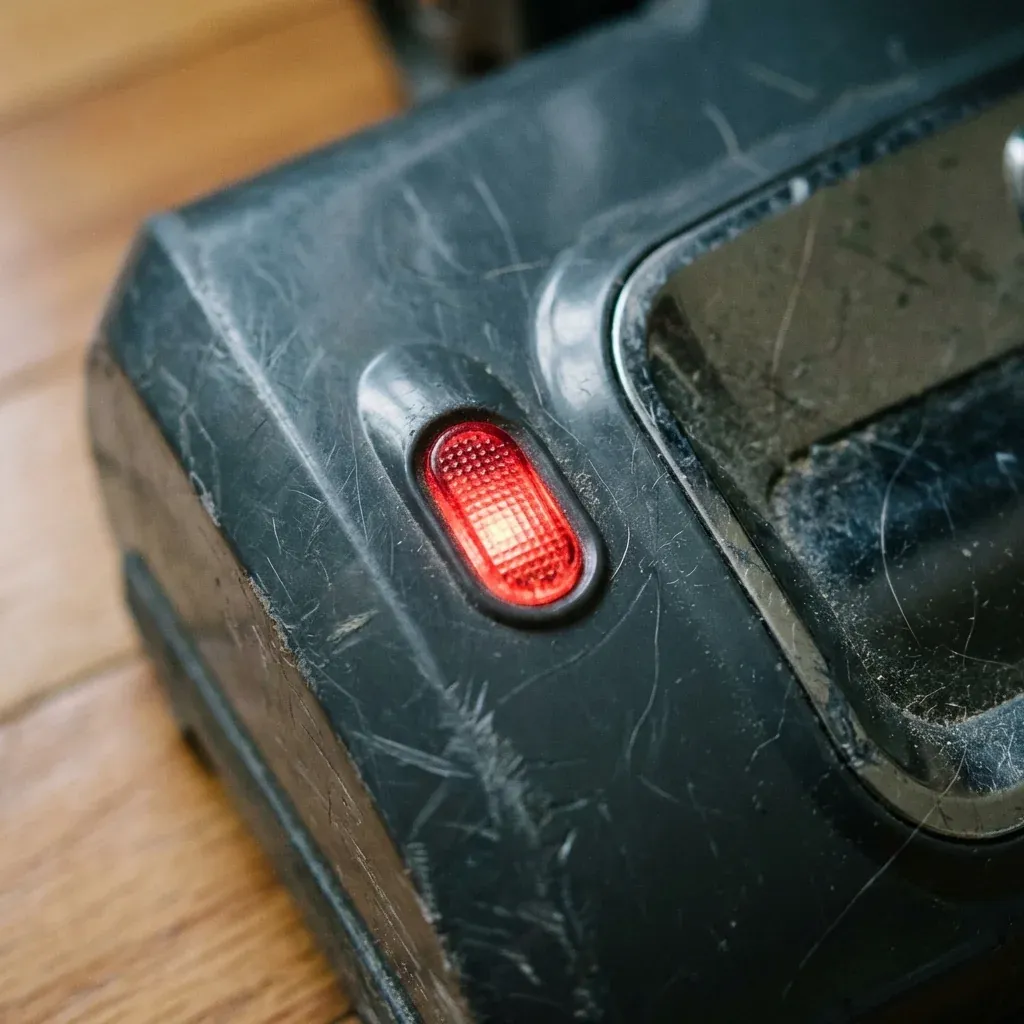
Is your power switch stuck, mushy, or completely unresponsive? Learn how to troubleshoot and replace the power switch on your Shark Navigator.
A broken power switch is a frustrating problem. Sometimes it’s just a bit of dust making the button “mushy,” but other times the physical switch inside has failed.
Is your power switch stuck, mushy, or completely unresponsive? Learn how to troubleshoot and replace the power switch on your Shark Navigator.
- Symptoms: Vacuum won’t turn on even when plugged in, Switch feels ‘stuck’ and won’t click, Vacuum turns on but won’t turn off
- Tools: Phillips Head Screwdriver, Needle Nose Pliers, Replacement Rocker Switch (Model Specific)
- Difficulty: Medium
If your Shark Navigator is getting power (the lights are on) but the motor won’t start when you click the button, you likely have a switch issue. Here is how to diagnose and repair it.
1. Safety Check
Unplug the vacuum before starting. Do not attempt to touch electrical contacts while the machine is connected to power.
2. Diagnosing the Problem
Not all “won’t turn on” problems are the switch.
- Check the Cord: Ensure the cord isn’t frayed (see our Cord Replacement Guide).
- Thermal Fuse: If the vacuum was running and suddenly stopped, it might have overheated. Wait 45 minutes for it to cool down before assuming the switch is dead.
- The “Wiggle” Test: If you plug the vacuum in and wiggle the switch, and it starts for a split second, the internal contacts are worn out.
3. Reaching the Switch
Depending on your Navigator model (NV350, NV360, etc.), the switch is located either on the Handle or the Main Pod.
For Handle-Mounted Switches:
- Remove the screw on the back of the handle assembly.
- Gently pop the plastic cover off.
- The switch is a simple “rocker” with two wires connected to it.
For Pod-Mounted Switches:
- Remove the dust cup.
- Unscrew the top cover of the motor pod.
- Locate the switch near where the power cord enters the body.
4. Replacing the Switch
- Disconnect the Wires: Use needle-nose pliers to pull the two metal connectors off the switch terminals. Note which color goes where.
- Pop the Switch Out: Most Shark switches are held in place by plastic tabs. Press the tabs from the inside and push the switch through the hole.
- Insert the New Switch: Snap your replacement switch into the hole until it clicks.
- Reconnect Wires: Slide the wire connectors back onto the new switch terminals. They should be tight. If they feel loose, use your pliers to gently squeeze the metal connector for a firmer grip.
5. Reassemble and Test
- Snap the covers back on and replace the screws.
- Plug the vacuum in.
- Click the switch. Your Navigator should roar back to life.
Pro Tip: Temporary Cleaning
If the switch is just “sticky” from years of dust, you can sometimes fix it without a new part. Use a can of Compressed Air or a drop of Electronic Contact Cleaner (special fast-drying spray) and work the switch back and forth 30 times. This often clears out the grit that prevents a good connection.
| Spare Part | Purpose |
|---|---|
| No click, no power | Broken Mechanical Switch |
| Solid click, no power | Blown Thermal Fuse or Dead Motor |
| Mushy feel, intermittent power | Dust buildup (Clean it!) |
| Switch is hot to the touch | Wiring issue (Replace immediately) |