The ultimate user guide for Shark Navigator Lift-Away vacuums. Covers assembly, operation, all attachments, maintenance, and troubleshooting for NV350/NV352/NV360 models.
This is the complete user guide for all Shark Navigator Lift-Away models (NV350, NV352, NV360, and similar). Use this as your go-to reference for everything from first-time setup to troubleshooting.
The ultimate user guide for Shark Navigator Lift-Away vacuums. Covers assembly, operation, all attachments, maintenance, and troubleshooting for NV350/NV352/NV360 models.
- Symptoms: New Navigator owner, Lost original manual, Want comprehensive guide
- Tools: none
- Difficulty: Easy
PART 1: GETTING STARTED
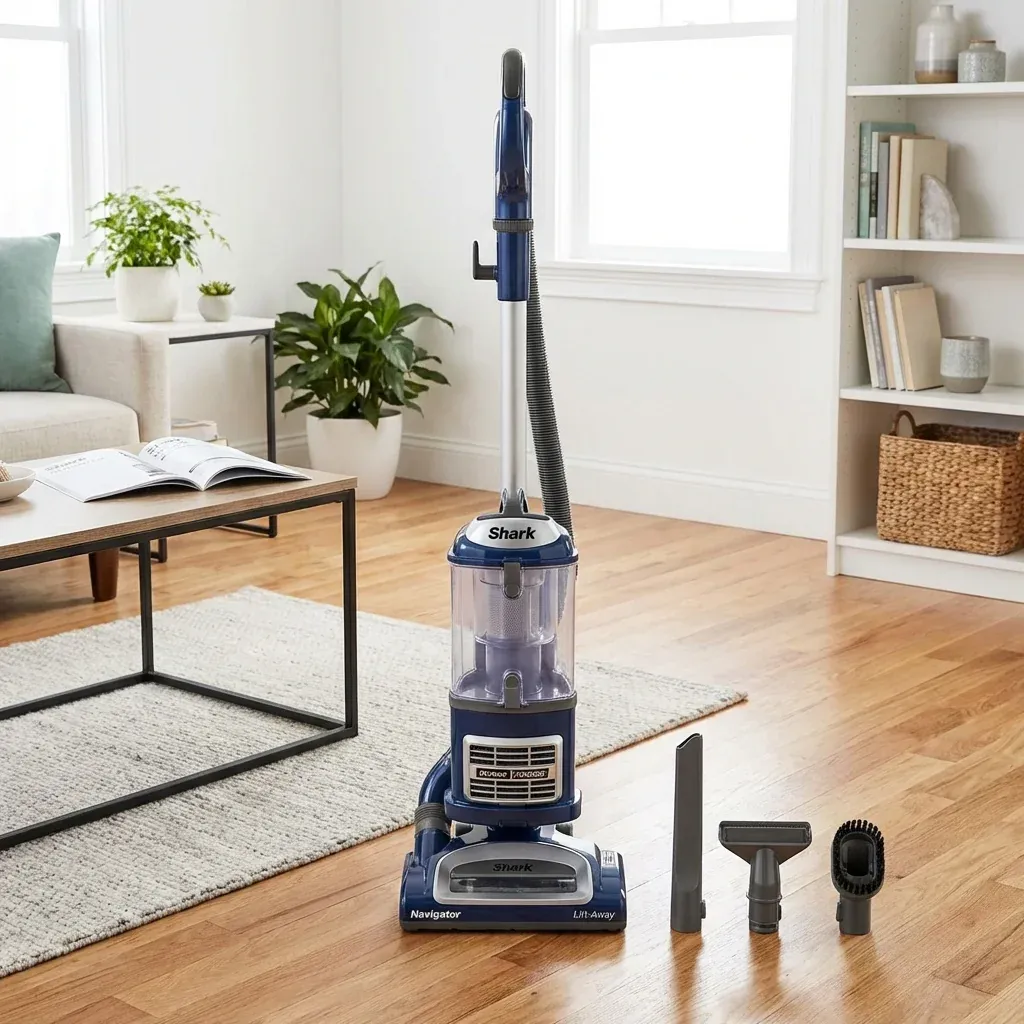
What’s In The Box
- Main vacuum body
- Handle (may be pre-attached)
- Floor nozzle (brush roll housing)
- Crevice tool
- Dusting brush
- Pet Power Brush (some models)
Assembly
- Attach the handle to the main body (clicks into place).
- Connect the floor nozzle to the bottom of the body.
- Wrap the cord around the hooks on the back.
- Insert the crevice tool and dusting brush into the on-board storage clips.
PART 2: BASIC OPERATION
Starting the Vacuum
- Plug the cord into a wall outlet.
- Press the Power Button (foot pedal or handle button).
- Push forward to begin cleaning.
Floor Type Switch
Located on or near the floor nozzle:
- Position I: Hard Floors (brush roll off).
- Position II: Carpets (brush roll on).
Using Lift-Away Mode
- Press the Lift-Away Release Button on the front of the body.
- Lift the canister (motor + bin) away from the floor nozzle.
- Use the hose and attachments to clean stairs, upholstery, drapes, and more.
- To re-attach: Place the canister back onto the floor nozzle until it clicks.
PART 3: USING ATTACHMENTS
Crevice Tool
- Long, skinny nozzle for tight spaces.
- Use for: Between cushions, corners, car seats.
Dusting Brush
- Soft bristles for delicate surfaces.
- Use for: Lampshades, keyboards, blinds.
Pet Power Brush (If Included)
- Motorized mini brush for embedded pet hair.
- Use for: Upholstery, stairs, car interiors.
PART 4: MAINTENANCE
Emptying the Dust Bin
- Turn off and unplug the vacuum.
- Press the Dust Bin Release button.
- Remove the bin.
- Hold over a trash can and press the bottom door release.
- Snap the bin back into place.
Cleaning the Filters
The Navigator has two washable filters:
| Filter | Location |
|---|---|
| Foam + Felt Filter | Inside the top of the dust bin |
| HEPA Post-Motor Filter | In the slot near the exhaust |
Rotator Lower Hose Replacement: A Step-by-Step DIY Guide
Cleaning Steps:
- Remove filters.
- Rinse under cool running water.
- Squeeze out excess water.
- Let dry completely (24 hours).
- Reinstall.
Clean filters once per month. Replace once per year.
Clearing the Brush Roll
- Flip the vacuum over.
- Remove the brush roll access plate (usually tool-free).
- Lift out the brush roll.
- Cut away hair and debris with scissors.
- Reinstall the brush roll and plate.
PART 5: TROUBLESHOOTING
| Problem | Cause | Solution |
|---|---|---|
| No suction | Full bin, clogged filter | Empty bin, wash filter |
| Brush roll not spinning | Hair jam, belt issue | Clear hair, check belt |
| Vacuum won’t turn on | Cord issue | Check outlet, cord damage |
| Burning smell | Clogged airway, worn belt | Clear clogs, replace belt |
| Loud noise | Loose part, foreign object | Check hose and nozzle |
PART 6: SPECIFICATIONS
| Feature | Value |
|---|---|
| Weight | ~13 lbs |
| Cord Length | 25-30 feet |
| Bin Capacity | ~1.1 quarts |
| Filtration | HEPA (sealed) |
| Warranty | 5 Years (limited) |
CUSTOMER SUPPORT
- Phone: 1-800-798-7398
- Website: sharkclean.com/support
- Register Your Product: sharkclean.com/register
TIP: The Navigator is designed to last for years with minimal maintenance. The most important habit is washing your filters monthly. This single action prevents 90% of common problems.